
Battleplan Defense Guide: Counterattack and Fortifications
Read Battleplan Counterattack orders, engineer mine tasks and fortification levels. Use a source-backed checklist to hold a sector and prepare the next move.
FAQ
Why does the tutorial use Counterattack for defense?
How do fortifications build up?
Can artillery reduce enemy fortifications?
A defensive order still needs a purpose
Holding one part of the front can support an attack somewhere else. In the cited tutorial, infantry formations receive Counterattack orders along the contact line while an armored force prepares its breakthrough. The creator’s stated purpose is to engage defenders and limit their response to the main offensive. That is an example of coordinated jobs, not a guarantee that the same tactic suits every scenario.
Before choosing a task, identify the selected formation and its intended area with the drawn-orders reference. This checklist focuses on the sector you are holding, the capabilities available there and the visible condition of the units.
Source and scope
This page uses perafilozof’s October 12 release tutorial, which discloses Slitherine sponsorship. We read the full transcript; its mine, counterattack and fortification observations come from one demonstrated mission. Screenshots below come directly from that tutorial and link to the original moments. It does not independently verify defensive bonuses, exact timers or a winning line of defense.
Check a defensive sector
Follow these source-derived checks while comparing the selected formation and the current battlefield.
1. Define the sector that supports the main operation
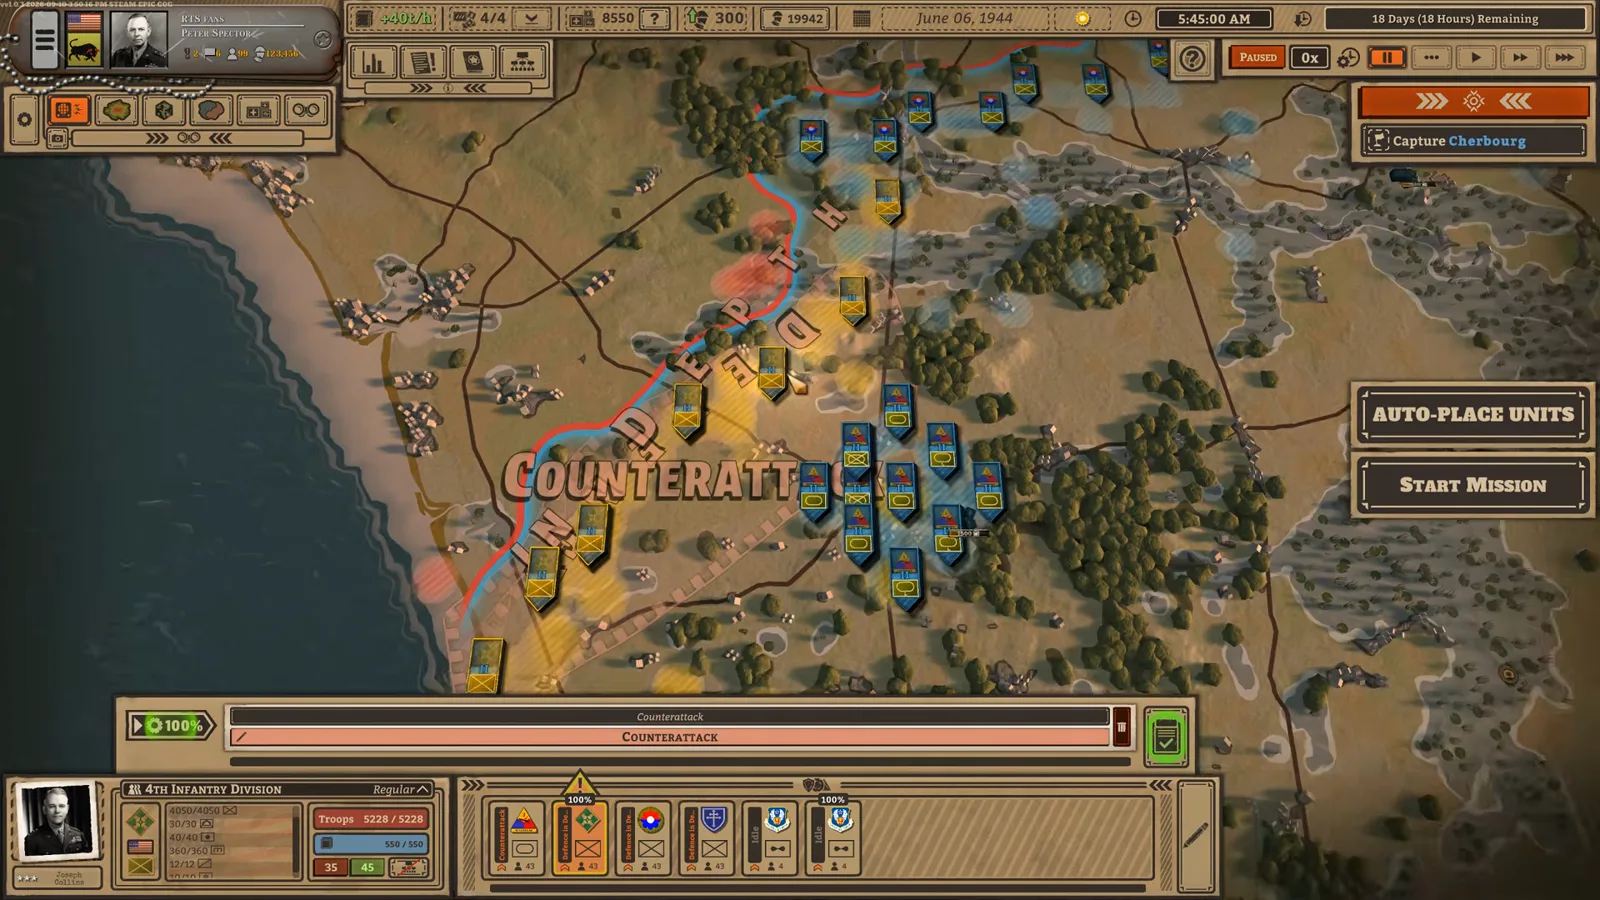
Decide what the holding formation needs to achieve and draw an area that matches it. At 6:10–6:40 the creator puts Counterattack orders on infantry sectors to keep opposing troops engaged while armor prepares a breakthrough elsewhere. Review the connection to the main operation rather than treating the word Counterattack as an instruction to send every formation forward.
2. Check engineers before planning a mine task
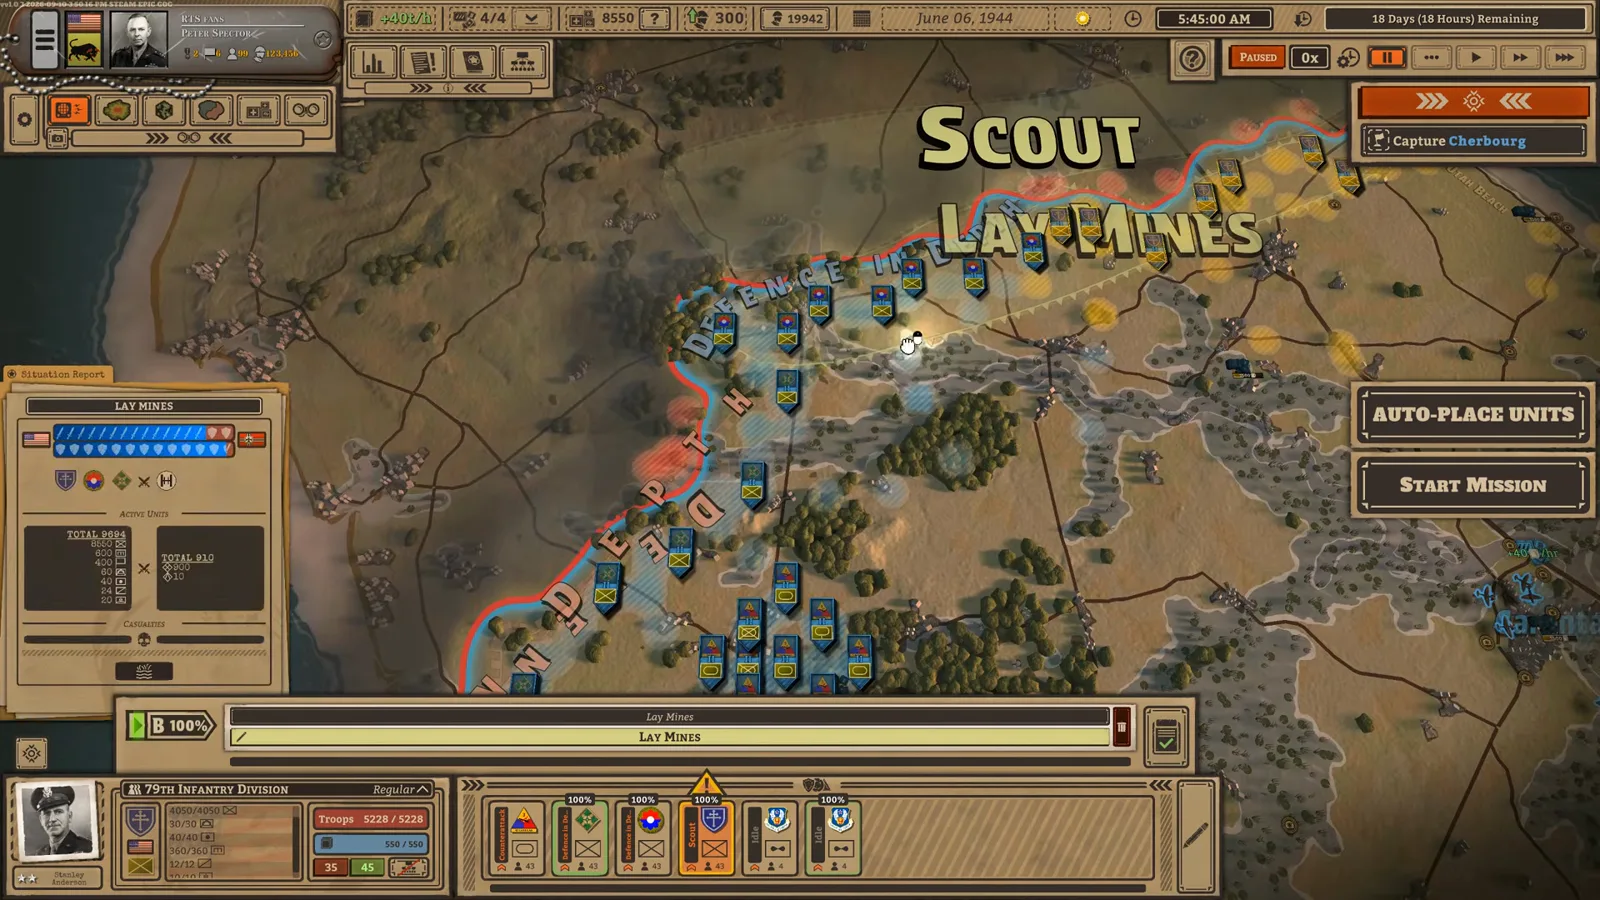
Inspect composition before assigning mining or mine clearing. At 7:12 the tutorial explains that these orders depend on engineers; its example prepares mines on one flank and mine clearing along the intended armored approach. This illustrates two different jobs. It does not establish a universal mine layout, guaranteed enemy route, engineer count or preparation time.
3. Read fortification together with morale and supply
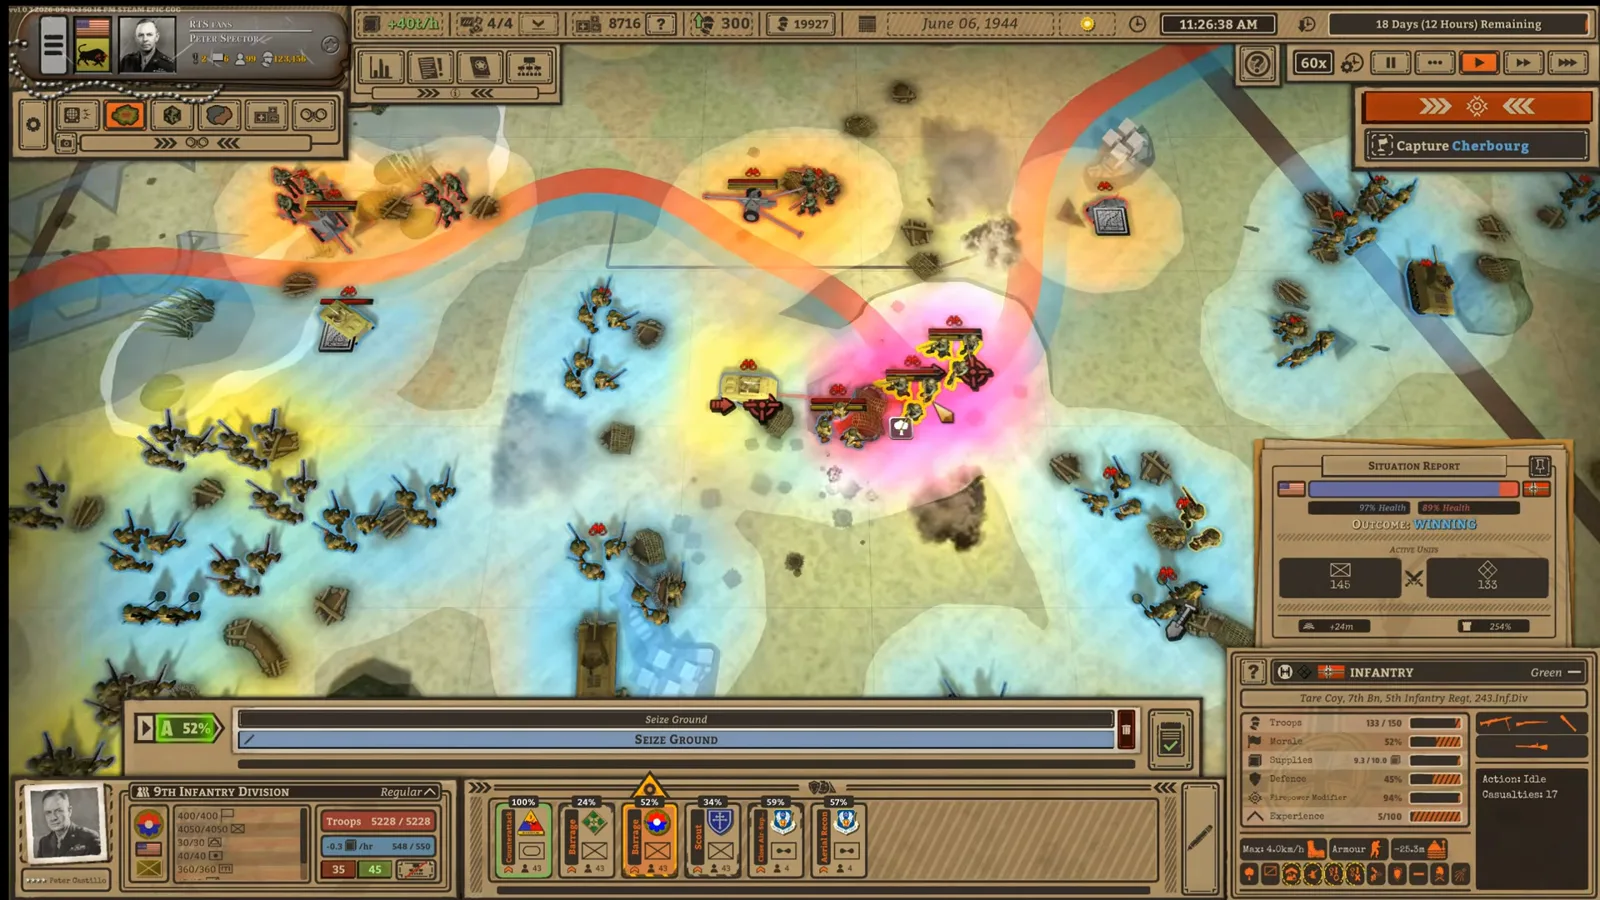
Zoom in on the selected unit and inspect the visible status information. At 11:24–11:41 the creator checks morale, supplies and fortification, says stationary units build fortification, and uses artillery against fortified enemies. Review all three before choosing to hold, attack or change plans. A fortification percentage alone does not prove that a position is safe, and this source provides no fixed growth or damage formula.
Holding newly captured ground is another planning stage
The tutorial prepares future Counterattack or Seize Ground orders as formations approach the end of their current tasks. At 15:02 the armored formation uses an already prepared Counterattack after reaching captured territory. The useful habit is to decide what happens after the advance instead of leaving the last attack as the entire plan.
Use the combined-arms checklist when infantry must follow armor and clear remaining defenders. Check supply and logistics before deciding that a stalled unit merely needs a more aggressive order.
| Observation | Inspection before the next order |
|---|---|
| A formation must stay on a flank | Its assigned area, purpose and connection to the main offensive. |
| The mine task is absent | Engineer capability in the selected formation. |
| A defender has a high displayed fortification level | Artillery preparation and the situation; avoid guessing a fixed reduction. |
| New ground has been taken | Remaining enemy pockets, the supporting formations and supply. |
What this guide deliberately leaves open
The official game description establishes a high-level command system and terrain-dependent logistics, but the reviewed sources do not publish a defense-stat table. A town or forest in a screenshot is therefore not evidence for a specific protection bonus. Consult terrain and time for reading geography and pausing to inspect the plan.
Reviewed October 14, 2026. Source-derived suggestions are distinguished from observed controls. No hands-on defensive scenario testing, optimal army composition or guaranteed mission result is claimed. Gameplay recorded by perafilozof; Battleplan imagery is © Slitherine Ltd. / Foolish Mortals Games Inc. Each screenshot links to its original moment.
Related videos

Related Articles
Guides
Battleplan Air Recon and Support: Orders and Rebasing
Use Battleplan air reconnaissance and close support for different jobs. Follow the release tutorial’s scouting, next-sector planning and aircraft rebase checks.
Guides
Battleplan Combined Arms: Tanks, Infantry and Engineers
Plan a Battleplan tank breakthrough with infantry follow-up, artillery and engineers. Use the release tutorial to coordinate orders and protect the corridor.
Guides
Battleplan Beginner Guide: First Orders and Battle (2026)
Start the 2026 Battleplan WWII game with a practical preparation checklist: tutorial missions, readiness mode, army setup, drawn orders and supply.
Was this helpful?
Thanks for the feedback!