
Battleplan Air Recon and Support: Orders and Rebasing
Use Battleplan air reconnaissance and close support for different jobs. Follow the release tutorial’s scouting, next-sector planning and aircraft rebase checks.
FAQ
Why can my recon aircraft only scout or rebase?
What does the binoculars icon mean?
Why do aircraft lose supply after I move a hub?
Start with the aircraft’s role
Aerial reconnaissance and close support answer different questions. Reconnaissance helps you learn what is ahead; close support is assigned to the ground attack you have chosen. In the release tutorial, selecting a recon squadron exposes aerial recon and Rebase, while another aircraft formation has the close-support role. Check which formation you selected before trying to give it the other job.
For basic selection and order drawing, use drawn orders. This page concentrates on coordinating aircraft with the moving ground operation and keeping their support location valid.
Source and scope
Perafilozof’s release-day tutorial, published October 12, discloses Slitherine sponsorship. Its complete transcript describes aircraft in one mission, not a full catalogue of all aircraft or modes. Screenshots below come directly from that tutorial, with time links to the original footage. We have not independently measured scouting bonuses, air damage or supply range.
Plan the next air operation
Follow these source-derived checks while comparing the selected formation and the current battlefield.
1. Separate reconnaissance from close support
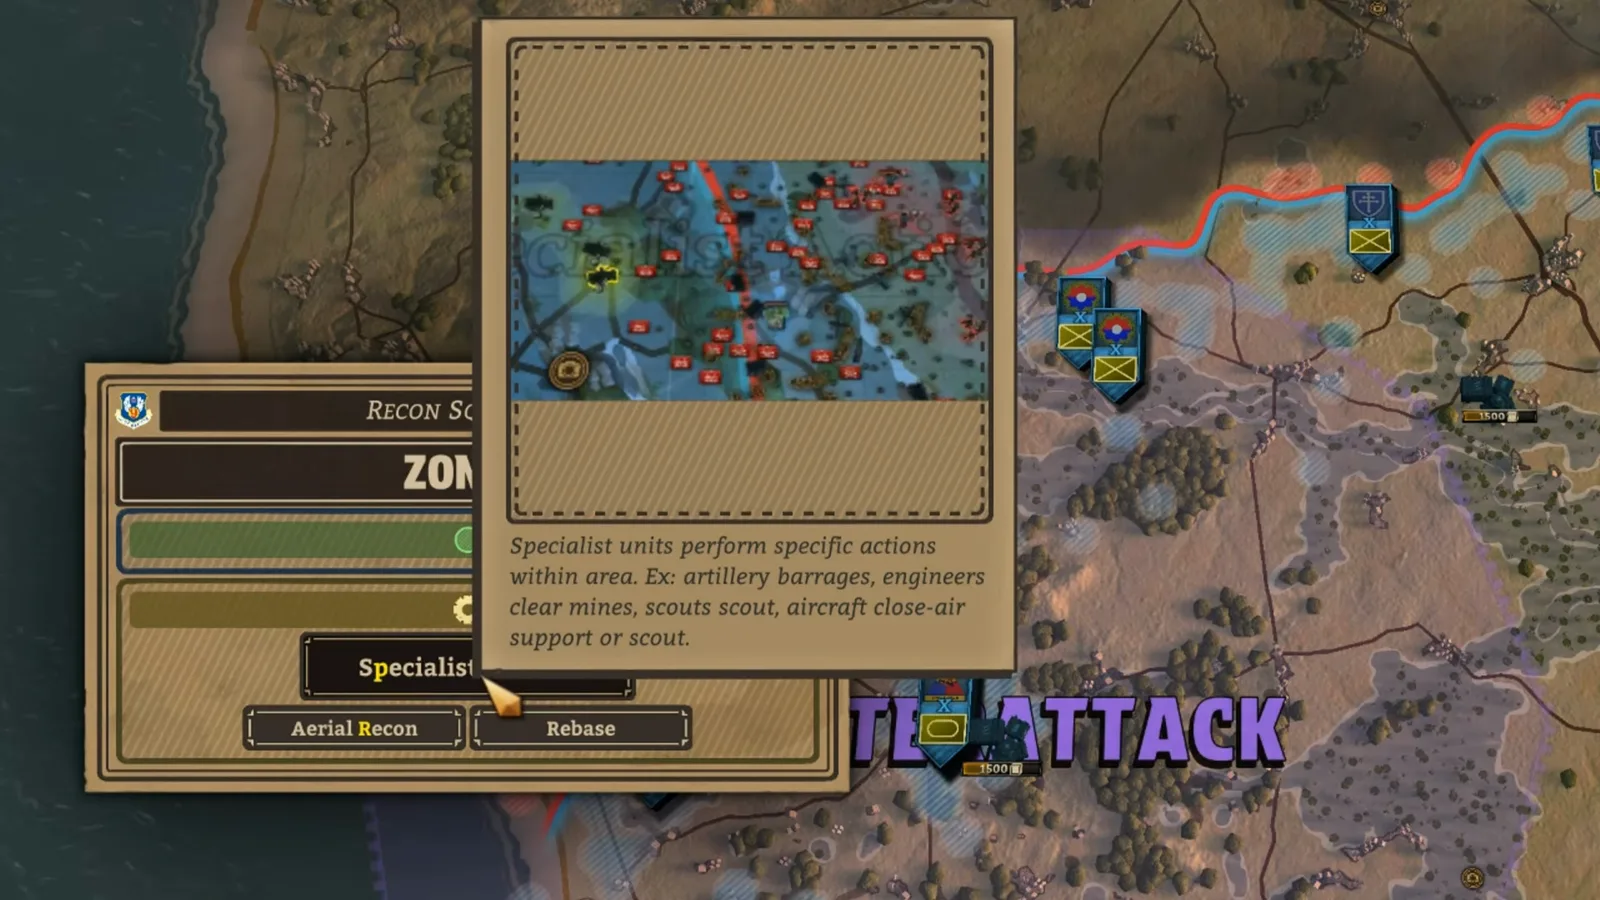
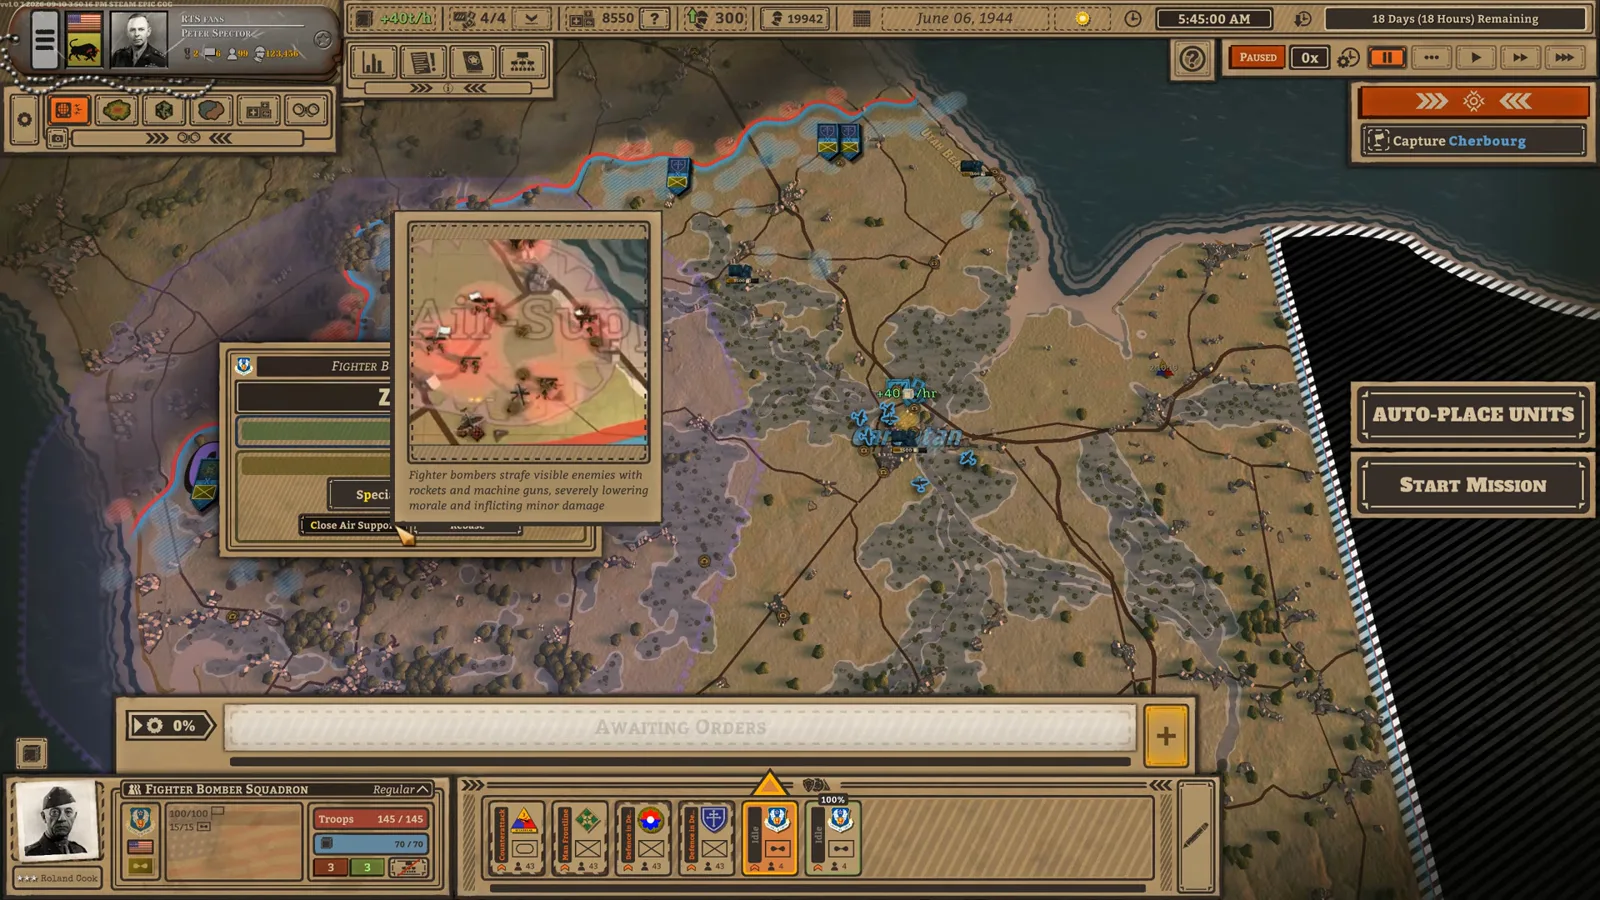
Select the aircraft formation and inspect its order menu. At 5:08 the creator assigns aerial recon across and behind the contact line; at 6:10 he explains that his other aircraft provide close support for the coming armored breakthrough. Choose a recon area to inspect the approach and a support task for the actual ground attack. Do not infer that every aircraft formation can perform both tasks.
2. Prepare air tasks for the next ground sector
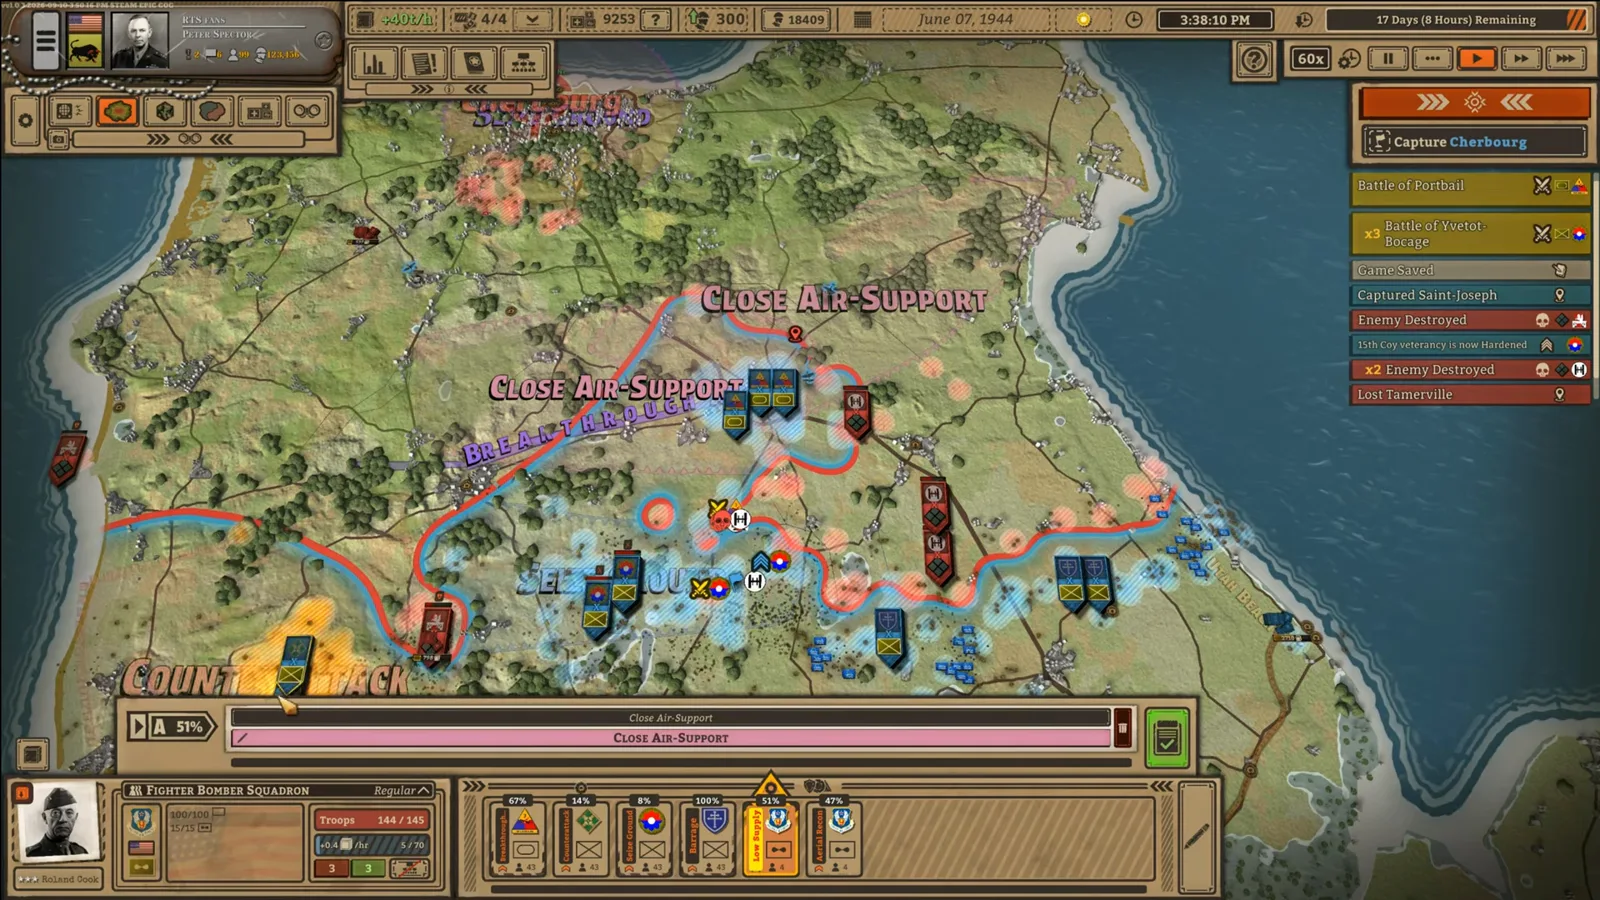
Review what the reconnaissance has revealed before extending the offensive. At 5:39 the creator describes marked enemies, artillery support and discovered supply points. At 9:23 he prepares air tasks for the next offensive; at 13:07 he executes the next prepared support plan along the tank route and sends recon ahead of the next breakthrough. Link the air task to the next ground stage instead of assuming a completed opening order will continue covering a new area.
3. Check Rebase when an aircraft supply point changes
Before removing a supply point, inspect the aircraft that depend on it and the Rebase option. At 14:52 the creator notes the need to rebase after taking away a squadron’s support; at 16:37–16:52 he shows the consequence of forgetting: the aircraft run out of supplies and new operations become less effective. Recheck the supported location and supply status before continuing. No universal rebasing time or range is established here.
What scouting can and cannot tell you
The tutorial says reconnaissance marks discovered enemies, helps artillery and reveals enemy supply points. Those observations justify scouting the next approach before committing the main force. They do not provide a verified detection radius, damage increase, morale penalty or promise that every enemy is visible.
Use the strategic overlays to compare the front, supply situation and what your units can see. A map image by itself is not proof that a location is within scouting range. The terrain and time reference explains the pause-and-inspect rhythm without assigning invented terrain modifiers.
Keep ground plans and support plans connected
| Change on the ground | Air check |
|---|---|
| The next breakthrough points into a new sector | Recon ahead of it and the intended close-support task. |
| An opening order finishes | Whether the next air plan is prepared and still covers the ground operation. |
| A supply point is removed | Which squadron used it and where it should rebase. |
| Aircraft show a supply warning | Supported location and supply status before another combat operation. |
The combined-arms checklist covers the infantry and tank sequence. The supply guide covers the delays that make moving support during active play different from preparation. Treat these as linked decisions: moving a ground hub can affect aircraft too.
Reviewed October 14, 2026. English UI labels are retained because the exact installed-build wording has not been verified in every game language. This site has not flown these missions itself. Gameplay recorded by perafilozof; Battleplan imagery is © Slitherine Ltd. / Foolish Mortals Games Inc. See each screenshot’s source link.
Related videos

Related Articles
Guides
Battleplan Combined Arms: Tanks, Infantry and Engineers
Plan a Battleplan tank breakthrough with infantry follow-up, artillery and engineers. Use the release tutorial to coordinate orders and protect the corridor.
Guides
Battleplan Defense Guide: Counterattack and Fortifications
Read Battleplan Counterattack orders, engineer mine tasks and fortification levels. Use a source-backed checklist to hold a sector and prepare the next move.
Guides
Battleplan Beginner Guide: First Orders and Battle (2026)
Start the 2026 Battleplan WWII game with a practical preparation checklist: tutorial missions, readiness mode, army setup, drawn orders and supply.
Was this helpful?
Thanks for the feedback!