
Battleplan Units and Officers Guide: Build a Useful Army
Understand Battleplan formations, specialist units, officer management, and historical armies before building a force for your next mission.
FAQ
Can I play without building a custom army?
Why is a specialist order missing from my formation?
Who is the best officer in Battleplan?
Start with a job for each formation
Before recruiting anything, decide what each formation must accomplish: find the enemy, prepare an attack, break through, or occupy the ground afterward. A collection of impressive units is less useful than an army whose formations can perform every stage of its plan.
If managing formations is getting between you and learning the battlefield, use the historical army first. The launch-day tutorial at 02:05 covers customization, then selects Use Historical Units to enter its next mission without that management step. Follow the beginner guide for the wider setup sequence.
Read the hierarchy before changing it
The official game description models headquarters, regiments, battalions, and companies. It also allows divisions to be combined into corps or units to be split down to companies. Those levels tell you where a unit belongs; they do not automatically tell you whether the resulting formation has the capabilities your orders require.
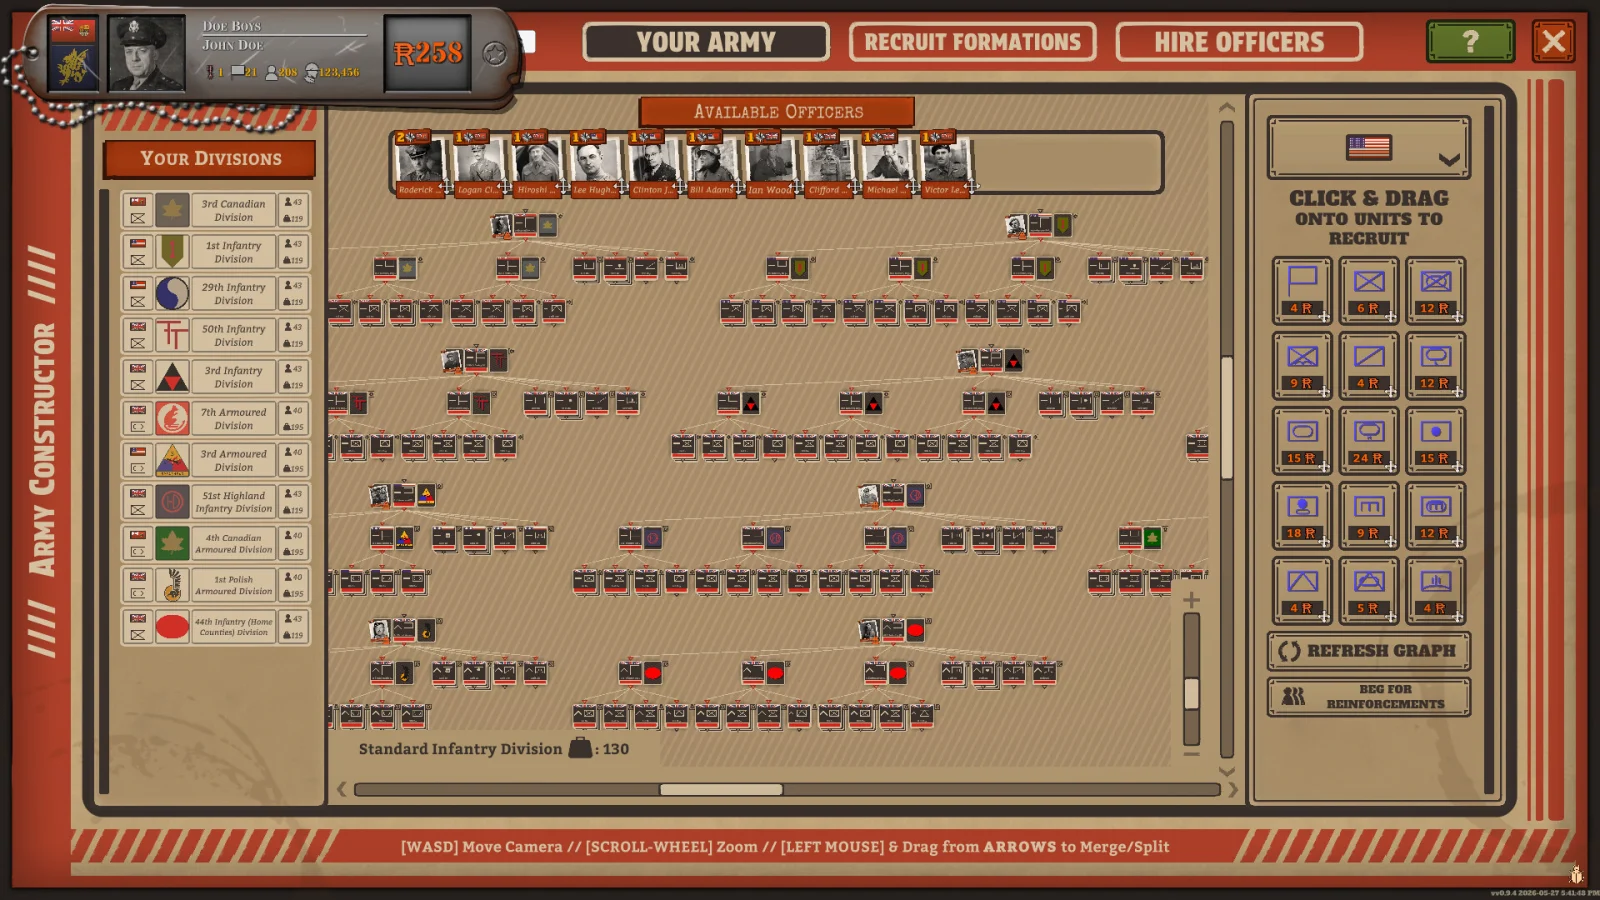
Official Steam screenshot: the Army Constructor exposes the organization of the force.
Work through one formation at a time. Identify its parent, inspect the units beneath it, and give it a clear operational role. Before splitting a specialist away, check which formation will still need its services. This avoids discovering a missing capability only when you open the order menu during a battle.
The tutorial notes that some composition displays rely on icons. Its 04:07 explanation recommends keeping 3D unit icons enabled while learning to recognize them. Treat the icons as a prompt to inspect composition, rather than guessing a unit’s role from its formation name.
Match specialist units to the plan
The important distinction is between the order you want and the units able to carry it out. At 06:40–07:42, the creator explains that missing specialist units also mean missing specialist orders.
| Planned task | Capability to check | Question before committing |
|---|---|---|
| Reconnaissance | Scouts or a suitable air reconnaissance formation | Can this force reveal the area before the attack? |
| Preparatory bombardment | Artillery | Is bombardment available in this formation’s order menu? |
| Mining or clearing mines | Engineers | Does the formation assigned to this route have engineers? |
| A breakthrough followed by occupation | Armor plus a separate infantry follow-up plan | Who will deal with enemies left beside the advancing spearhead? |
The last row describes the creator’s demonstrated tactic, not a compulsory army recipe. In the 12:18–13:50 sequence, armor breaks through while infantry follows with Seize Ground orders. Your mission may need a different balance, but it still needs someone assigned to the ground the leading force leaves behind. See the drawn orders guide for connecting those stages.
Hire an officer for the formation you have
The official description confirms that officers can be hired and fired, gain veterancy and quirks, and be promoted during the campaign. The tutorial also describes selecting traits and combining them with army composition.
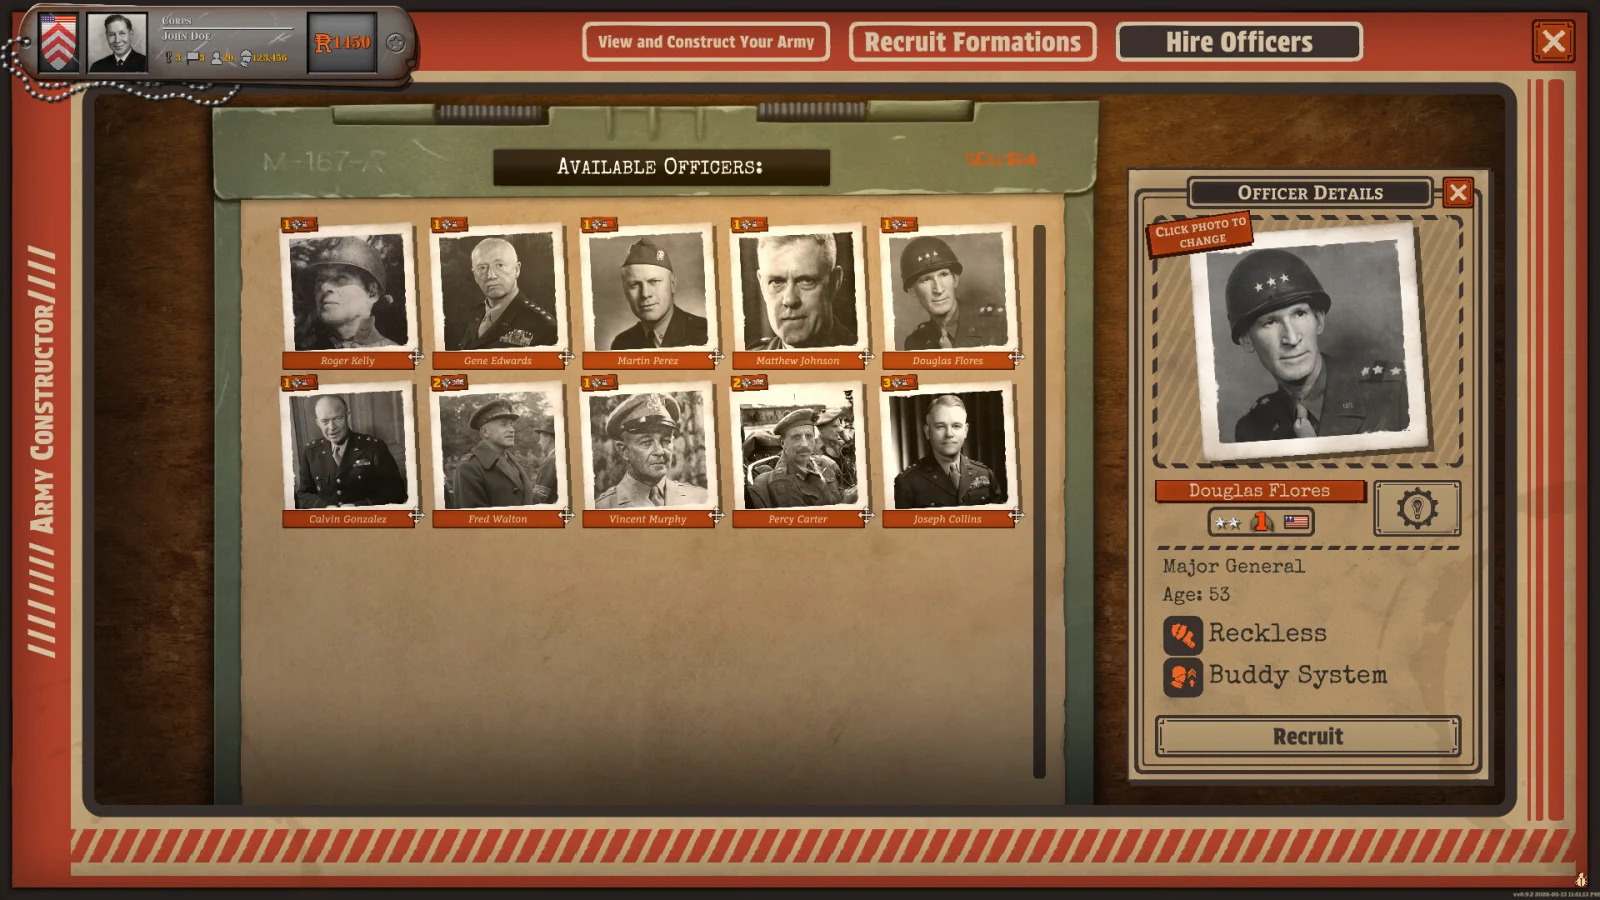
Official Steam screenshot: inspect the selected officer’s details before recruiting.
Make composition the first decision and officer selection the second. Read the officer’s details with a specific job in mind. If you cannot explain how a displayed trait helps that job, postpone the choice while learning. This guide does not assign hidden bonuses, rank officers, or recommend a universal skill build; those claims need testing beyond the available sources.
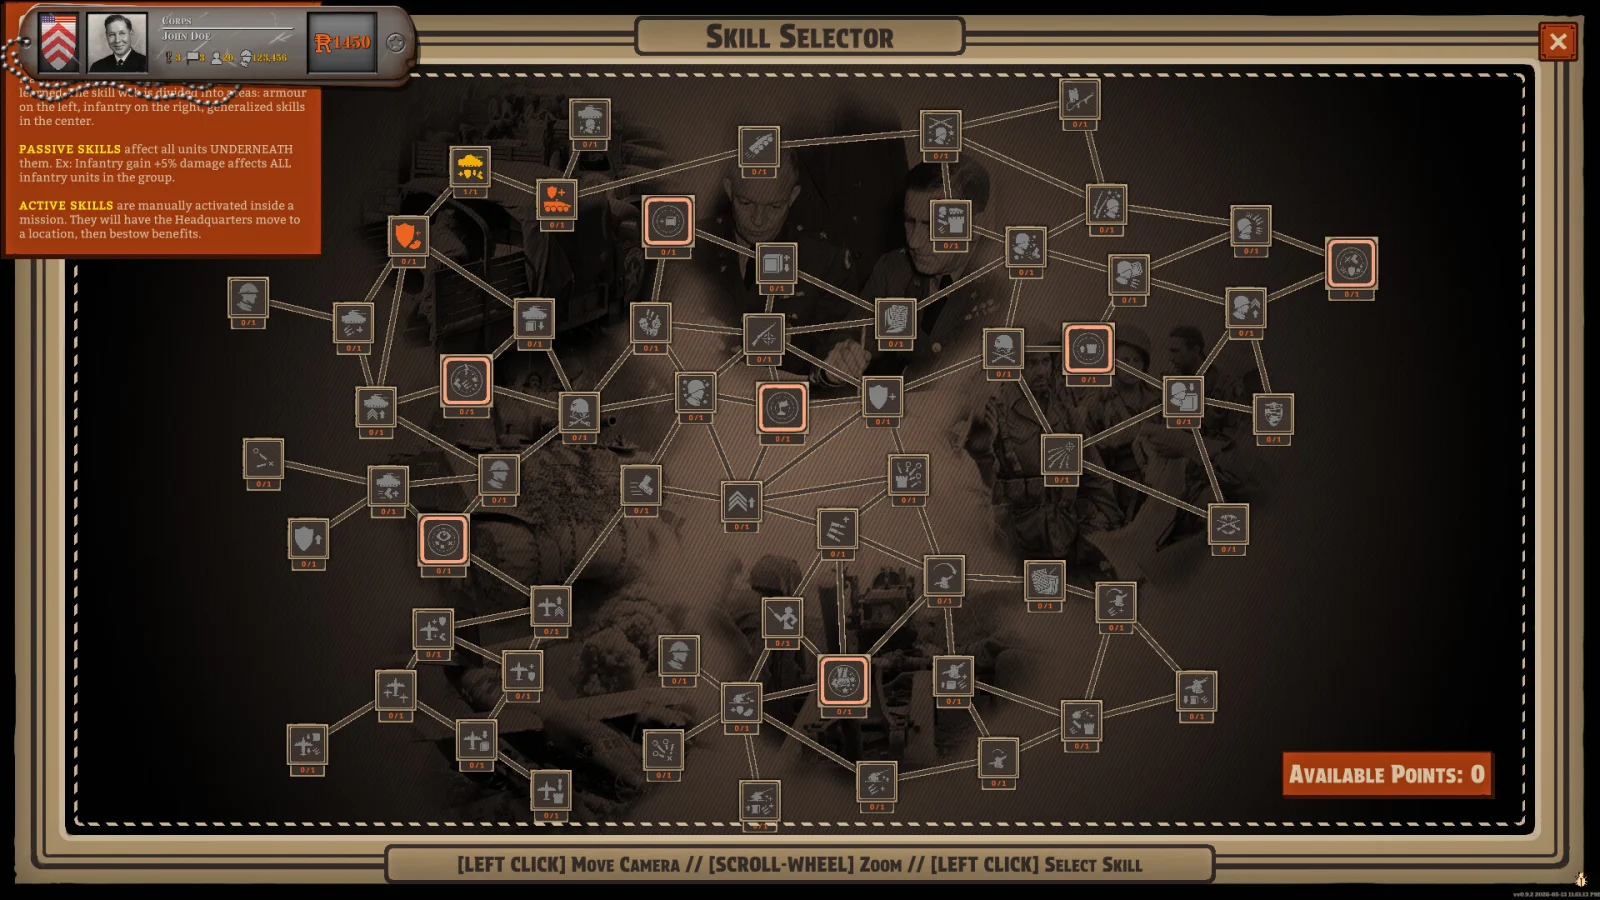
Official Steam screenshot: the skill interface offers choices, but the image alone does not establish their effectiveness.
Check condition before blaming composition
An army can contain the correct specialists and still be in poor condition. The 11:16 tutorial segment inspects morale, supply, and fortification. Check those before rebuilding a formation because an attack stalled.
Before the next operation, review four things:
- The formation still contains the specialists its orders need.
- Its current supply and morale support another advance.
- The follow-up formation has an order prepared.
- The officer and formation remain suitable for the next task, rather than merely the previous one.
Use supply and logistics when the issue is sustainment, and terrain and time when routes or the mission deadline require a revised plan.
Sources and review scope
This independent guide reviews the official Steam description and perafilozof’s linked launch-day tutorial; it is not a hands-on tested army build. Images are publisher-supplied Steam media, © Slitherine Ltd. / Foolish Mortals Games Inc. Interface details may change after launch.
Related videos

Related Articles
guides
Battleplan Beginner Guide: First Orders and Battle (2026)
Start the 2026 Battleplan WWII game with a practical preparation checklist: tutorial missions, readiness mode, army setup, drawn orders and supply.
guides
Battleplan Orders Guide: Draw, Prepare and Execute Plans
Learn Battleplan drawn orders: choose a capable formation, edit the operation area, check readiness and prepare follow-up stages before advancing.
guides
Battleplan Supply Guide: Routes, Hubs and Resupply (2026)
Keep a Battleplan advance supplied: inspect supply routes, relocate hubs carefully, rebase aircraft and avoid outrunning your logistical support.
Was this helpful?
Thanks for the feedback!