
Battleplan Beginner Guide: First Orders and Battle (2026)
Start the 2026 Battleplan WWII game with a practical preparation checklist: tutorial missions, readiness mode, army setup, drawn orders and supply.
FAQ
Which Battleplan does this guide cover?
Should a beginner choose historical units?
Does drawing an order start it immediately?
What should you do in your first session?
Treat the first battle as a lesson in issuing clear orders. You command formations at a high level; their officers and companies carry out the work autonomously. This is a different rhythm from selecting every squad and repeatedly clicking a target.
Begin with the two campaign tutorial missions. The launch-day walkthrough recommends them before demonstrating the third campaign mission. This guide explains the preparation loop rather than promising a winning route for every mission.
| Before you advance | What to check |
|---|---|
| Mission | Read the objective and the time counter. |
| Army | Confirm which formation you selected and what units it contains. |
| Supply | Locate your supply points and the route behind the formation. |
| First order | Choose a limited task, inspect the drawn area, and check readiness. |
| Execution | Start the prepared order, observe its progress, and pause when the situation changes. |
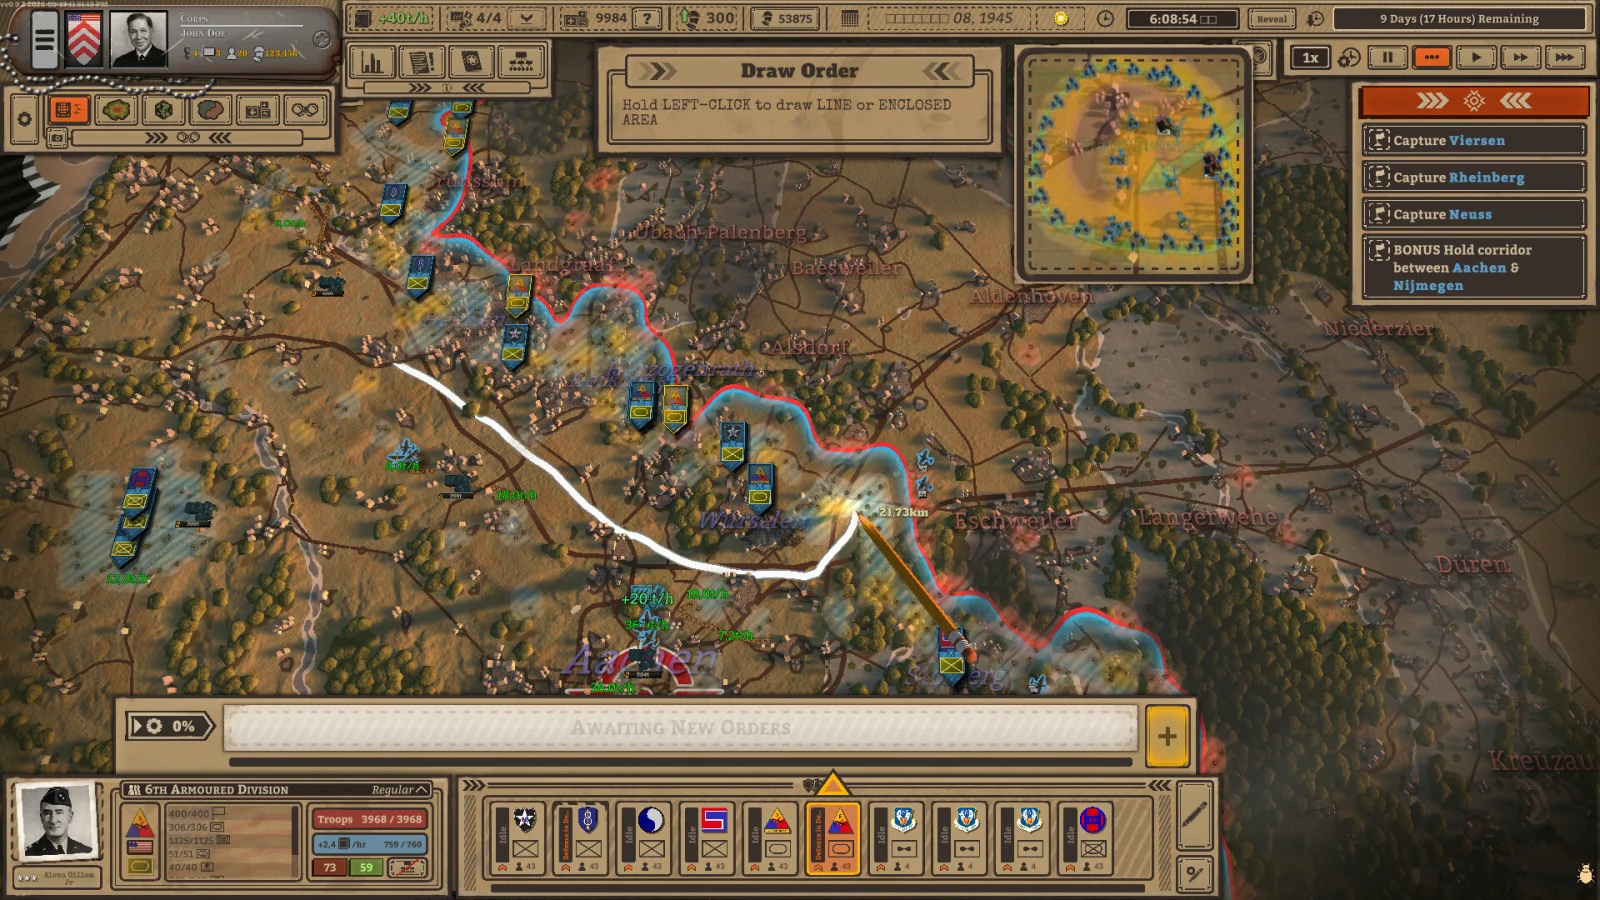
Official gameplay imagery: the drawn route is an order for a formation, not a suggested first-mission route. Source: Battleplan Steam listing.
Which planning mode is easier to learn?
The release tutorial recommends readiness mode for learning. In the mode explanation at 0:37, the creator describes being able to create plans throughout the day, while waiting for an order to reach 100% readiness to execute without a penalty. Planning-phase mode instead gives one planning phase during each day.
That makes readiness mode useful when you want to pause, revise a plan and understand the result. It also creates a habit you need to learn: prepare the next stage while the current one runs. Do not assume a newly drawn order is ready just because it looks correct on the map. Our drawn-orders guide separates drawing, preparation and execution.
This is a recommendation from the cited tutorial, not a claim that the alternative mode is wrong. Check the wording of the mode selector in your installed build.
Should you use historical units or a custom army?
If you want to learn the battlefield first, the historical units option reduces the number of decisions before a mission. The tutorial at 2:45 uses it to enter the mission without custom army or officer management.
A custom army exposes the other half of the game: formations, command structure, officers and skills. Learn that layer when you are ready to inspect which capabilities a formation brings. The units and officers reference explains the hierarchy without inventing a best army composition.
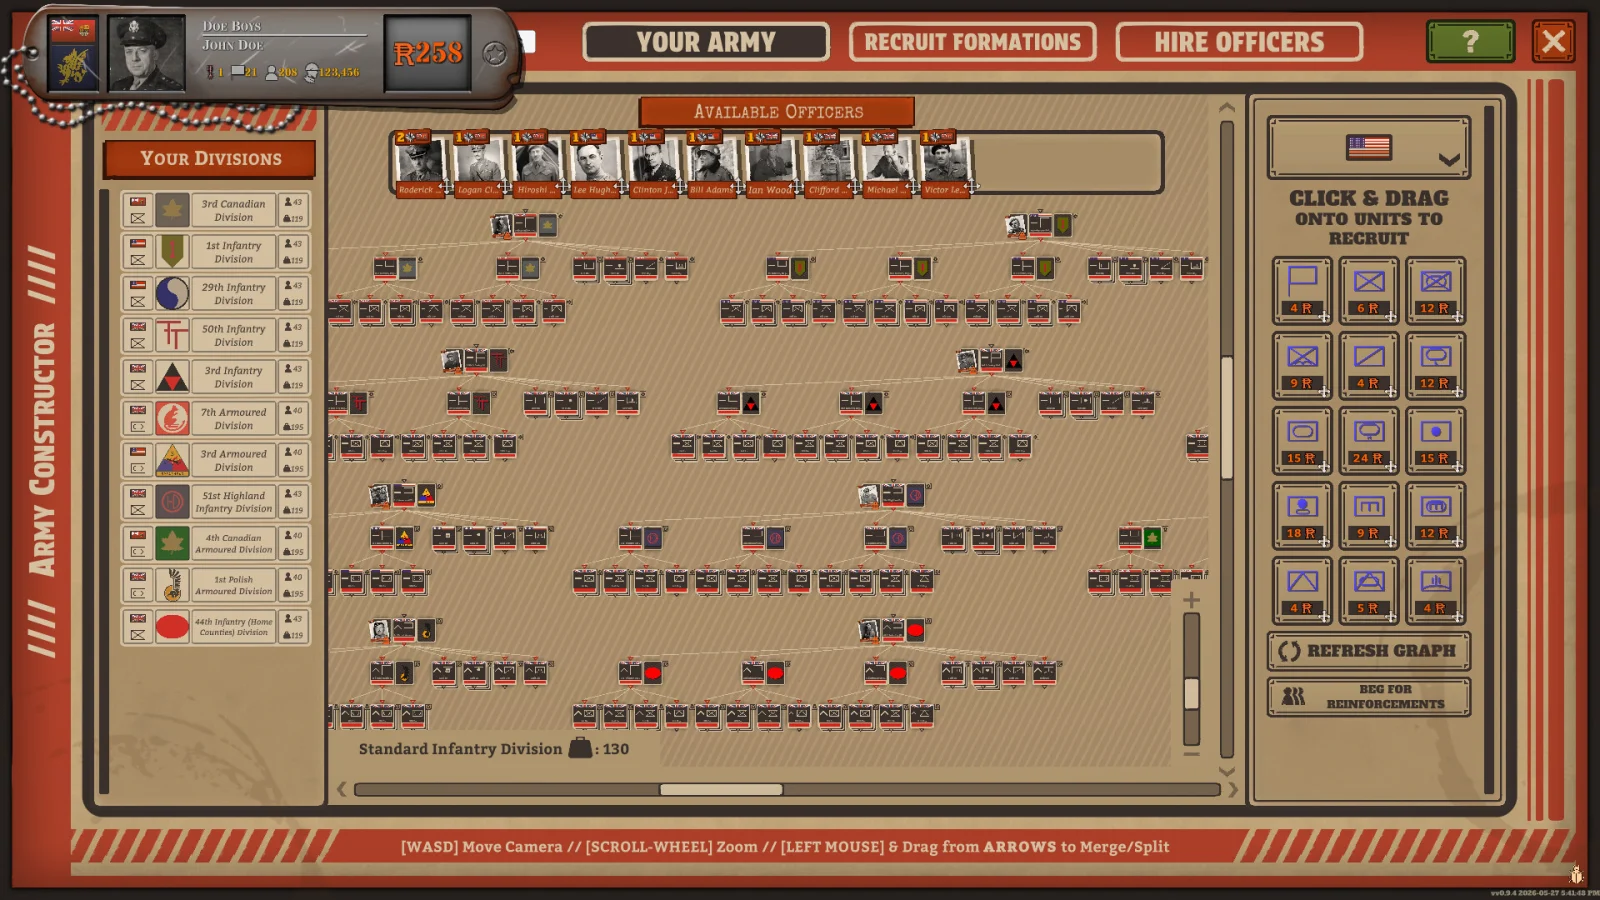
The management screen belongs to the custom-army layer. Official Steam screenshot; it is not a recommended build.
Why can’t you start the first mission?
One documented setup problem has a concrete developer answer. In a February 23 demo-era Steam discussion, a player could not start after using Army Constructor. Foolish Mortals explained this sequence:
- Assign an officer by dragging the officer onto the division’s top-level headquarters.
- Return to the pre-mission screen.
- Left-click and drag the unit into “Initial units” on the right.
The player confirmed that the final step solved their problem. Use this as a setup check if your screen matches it. It is a pre-release answer, so it does not establish that the released game has an unfixed bug or identical menu labels. If your current screen differs, follow its tutorial and prompts rather than forcing old instructions.
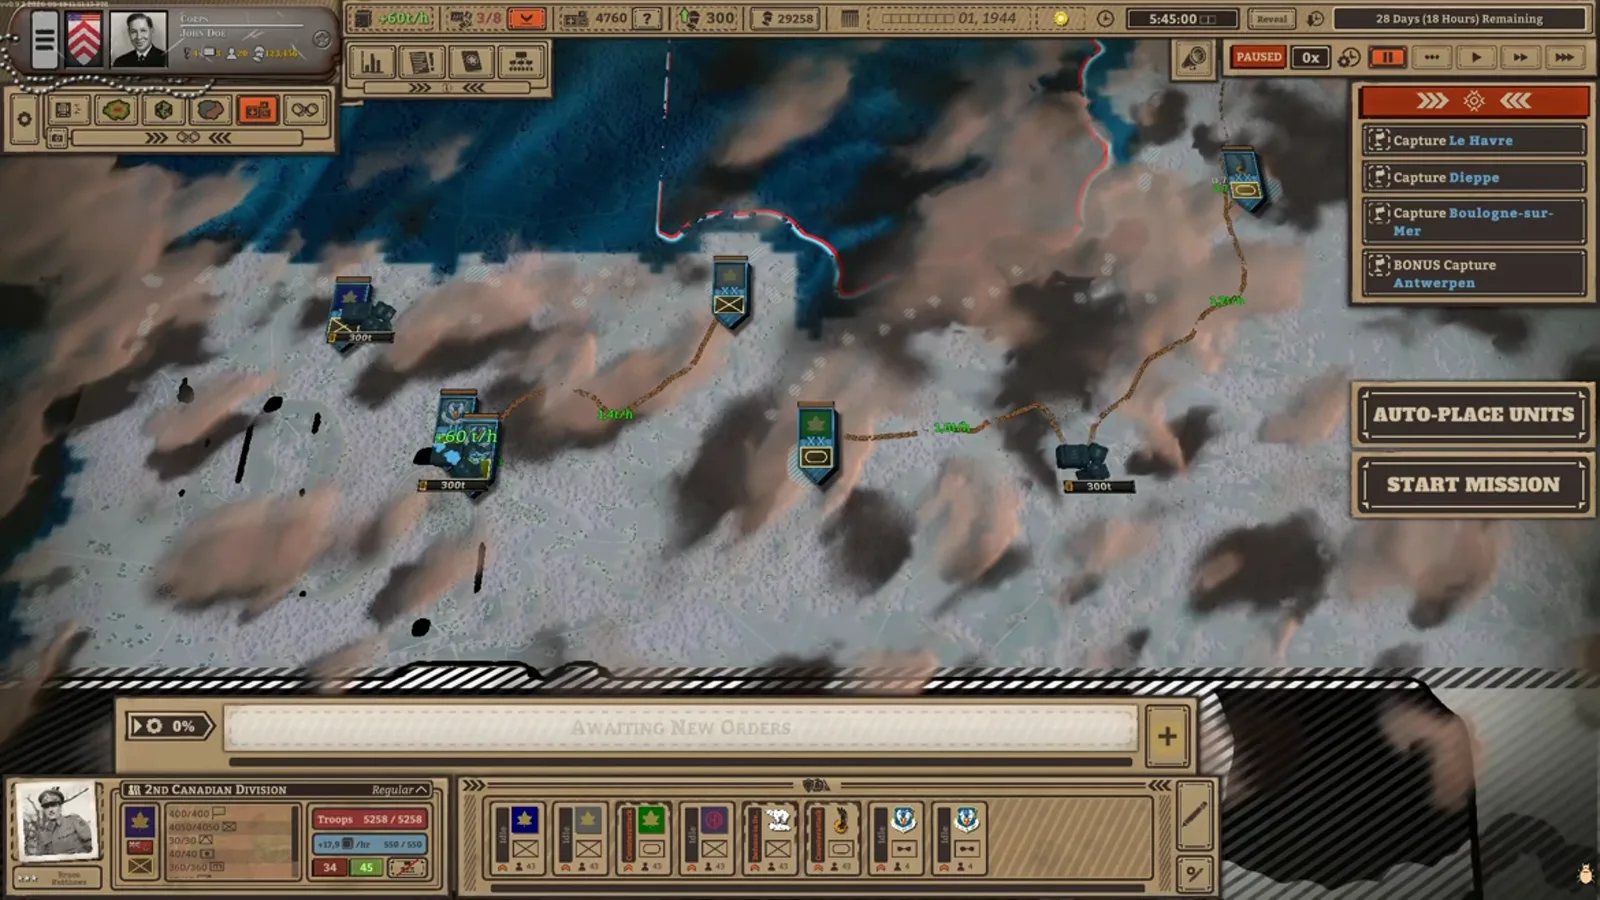
Official promotional footage illustrates deployment; the snowy scene is not the mission from the developer’s discussion.
How do you avoid a bad first advance?
Check supply before adding a long attack route. The official product description confirms that terrain affects supply flow, capturing depots can fuel an advance, and units may need to pull back when supplies run low. A tank formation reaching distant ground does not by itself mean the rest of the army can hold it.
Use a small planning cycle: inspect the objective, give one clear order, watch execution, then decide what comes next. Read supply and logistics before extending a breakthrough. Use the terrain and time guide to decide when to pause and which map information to review.
What is this guide based on?
Reviewed on October 13, 2026 against the official Steam description, publisher page, the linked developer discussion and perafilozof’s release tutorial. The tutorial discloses sponsorship by Slitherine. Images are official screenshots or footage, © their respective game owners. This is independent source review, not a claim of hands-on testing of every mission.
Related videos

Related Articles
guides
Battleplan Orders Guide: Draw, Prepare and Execute Plans
Learn Battleplan drawn orders: choose a capable formation, edit the operation area, check readiness and prepare follow-up stages before advancing.
guides
Battleplan Supply Guide: Routes, Hubs and Resupply (2026)
Keep a Battleplan advance supplied: inspect supply routes, relocate hubs carefully, rebase aircraft and avoid outrunning your logistical support.
mechanics
Battleplan Terrain and Time Guide: Plan Routes and Pauses
Read Battleplan terrain, manage pause and fast-forward, and plan attacks around supply, readiness, night reports, and the mission deadline.
Was this helpful?
Thanks for the feedback!