
Battleplan Supply Guide: Routes, Hubs and Resupply (2026)
Keep a Battleplan advance supplied: inspect supply routes, relocate hubs carefully, rebase aircraft and avoid outrunning your logistical support.
FAQ
Does every Battleplan mission have four supply hubs?
Why did aircraft lose supply after moving a hub?
Can you relocate a supply point instantly?
What keeps an advance supplied?
Supply is part of the battlefield, not just a counter to check after an attack. The official Steam description states that terrain affects supply flow, captured depots can fuel an advance, and cutting enemy supply lines can starve their formations. It also recommends pulling back when your units run low.
A useful planning question is therefore: what supports this formation after it reaches the objective? Draw the offensive only after considering the route behind it. The beginner guide puts that check before the first execution.
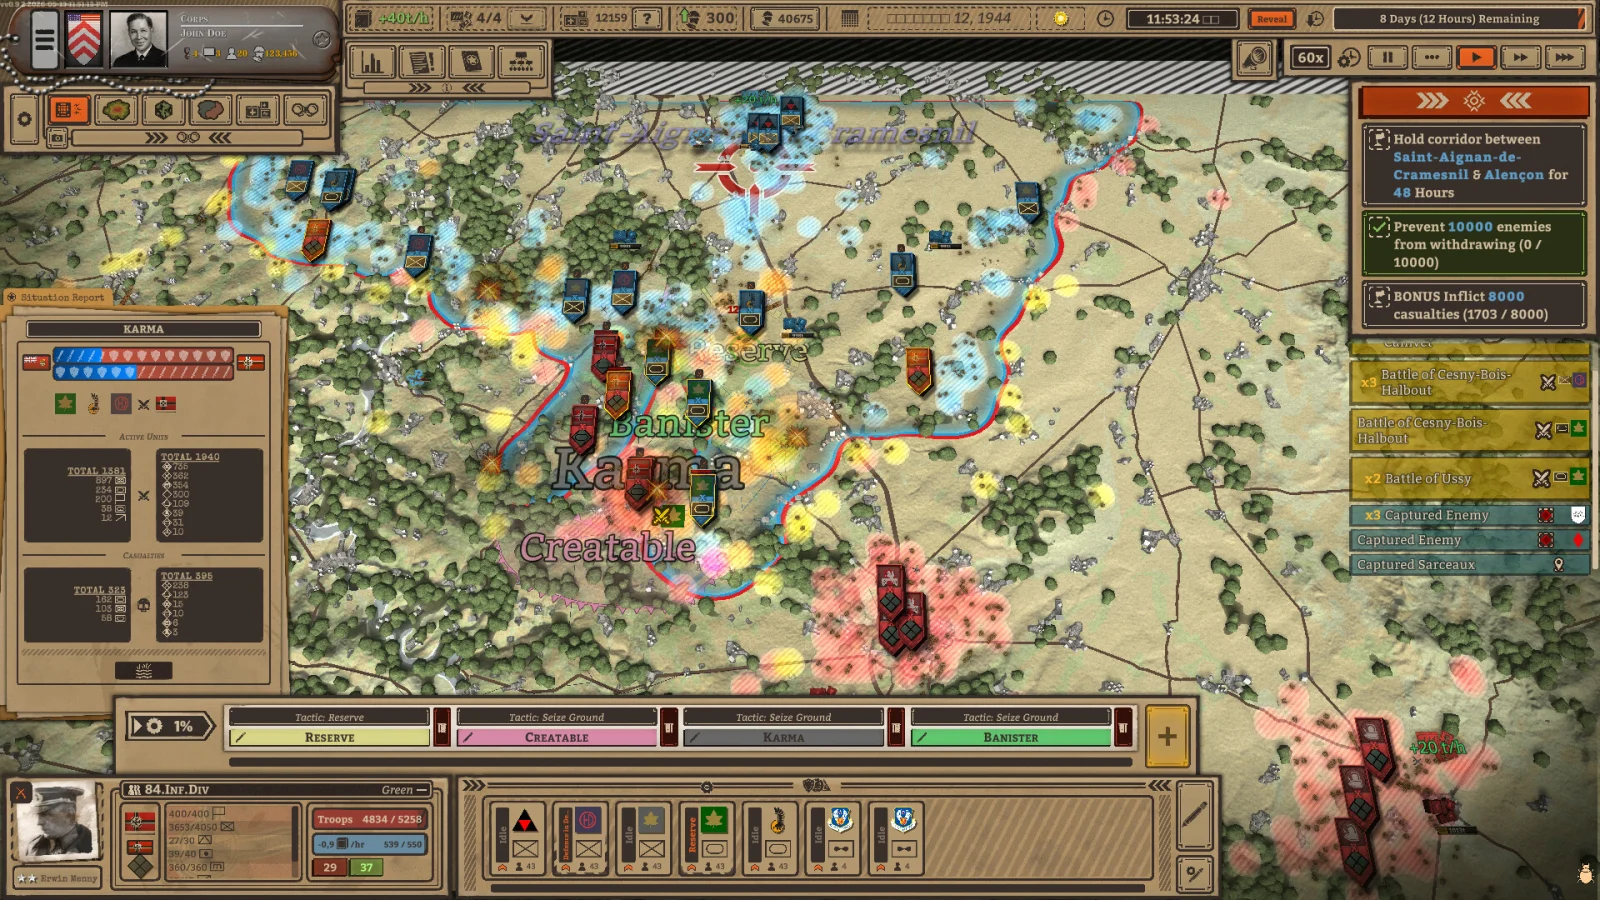
Official Steam screenshot provides operational context. It is not labeled here as a supply overlay and does not prove a supply radius.
What should you inspect before starting?
Open the supply overview and locate the hubs supporting the formation you intend to move. The release tutorial’s supply section at 3:00 shows the supply points and their slot counter. Its demonstrated mission has four slots; check your own scenario rather than treating that number as a universal rule.
Before committing, review:
- Which supply points are already operational.
- Which formation is about to travel furthest from its support.
- Whether the next position has a sensible route back through friendly territory.
- Whether moving one hub would leave other units or aircraft unsupported.
The terrain reference covers the official relationship between geography and supply. No verified source here supplies exact road throughput, hub radii or terrain multipliers, so this guide does not invent them.
When should you relocate a supply hub?
The tutorial moves hubs closer to its armored force during preparation. It then warns that relocation behaves differently once the battle is running: teardown and construction take several minutes in the demonstrated gameplay. The important consequence is the gap in support, rather than a timer you can memorize for every map.
In the relocation example at 14:27, the creator captures a village but does not find an enemy supply point to use. He removes one of his own to place it further forward. That sequence illustrates why you should plan the next supply position before a fast formation needs it.
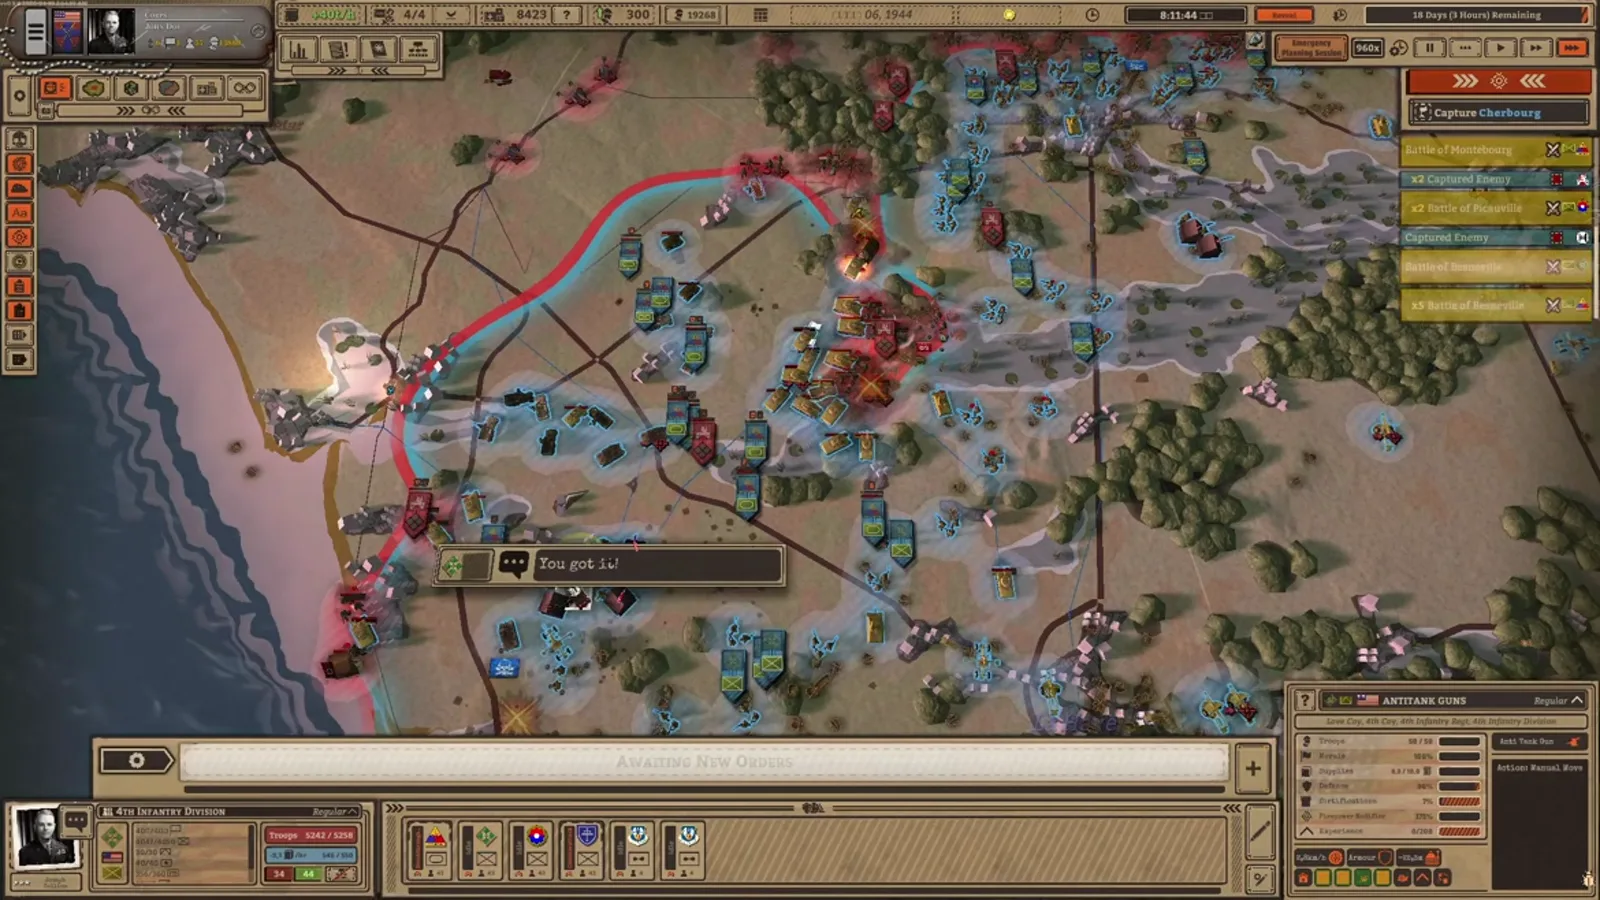
Official promotional footage illustrates the route network. It does not show the tutorial’s hub-removal action; the linked video shows that example.
As a planning precaution, keep other hubs operating while one is being moved and pause to inspect the affected units. This is an advisory checklist based on the demonstrated delay, not a claim about a hidden minimum number of hubs.
Why can tanks outpace the supply plan?
The tutorial’s armored breakthrough travels faster than its infantry follow-up. By 16:20, the creator warns that this speed can carry the formation deeper than its supply connection reaches. He discusses a Resupply order used at supply points.
Pair each drawn offensive stage with a logistical stage. Before drawing another breakthrough, inspect the selected unit’s supply status and the available support position. If the connection is failing, reconsider the advance instead of assuming a fresh attack order solves the underlying problem.
| Situation | Next inspection |
|---|---|
| Armored force has advanced far ahead | Unit supply status and connection to a working hub. |
| A hub is being removed | Units and aircraft that depended on that location. |
| A captured village has no usable supply point | Your available slots and the time needed to relocate support. |
| A formation has stalled | Supply, morale, the current order and the terrain; do not diagnose from distance alone. |
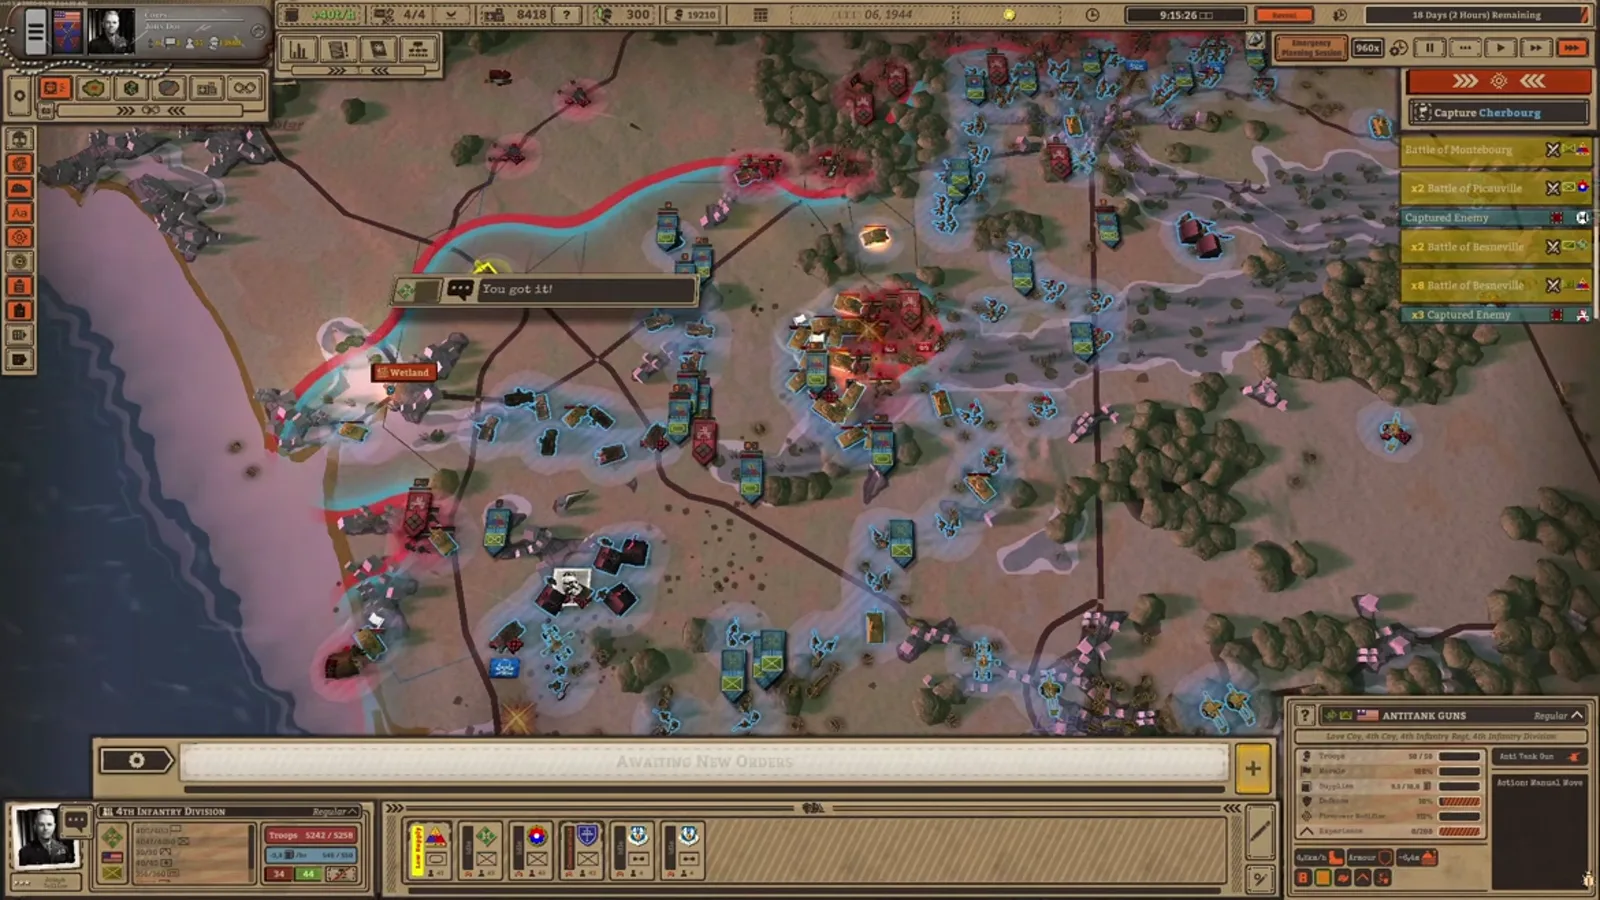
Inspect the selected formation’s condition. This official frame provides UI context, not a captured instance of a supply failure.
What changes when aircraft need supplies?
Do not forget the aircraft when moving ground support. At 16:36, the tutorial shows the consequence of removing an air squadron’s supply point without rebasing it: the aircraft run out of supply and their operations become less effective.
The corrective check is the Rebase option, introduced earlier for the recon aircraft. Inspect the new supported location and rebase the affected squadron before continuing its work. The units and officers guide explains why different formations expose different tasks; recon and close-support aircraft are not interchangeable orders.
What can you safely conclude from these sources?
Official material confirms terrain-dependent supply, captured depots, supply-line cutting and withdrawal when low. Perafilozof’s sponsored release-day tutorial demonstrates hub relocation, aircraft rebasing and resupply in one campaign mission. Those observations support the checklist above, but not universal hub limits or exact logistics formulas. Reviewed October 13, 2026. All images are official Steam screenshots or footage, © their respective owners; no hands-on scenario testing is claimed.
Related videos

Related Articles
guides
Battleplan Beginner Guide: First Orders and Battle (2026)
Start the 2026 Battleplan WWII game with a practical preparation checklist: tutorial missions, readiness mode, army setup, drawn orders and supply.
guides
Battleplan Orders Guide: Draw, Prepare and Execute Plans
Learn Battleplan drawn orders: choose a capable formation, edit the operation area, check readiness and prepare follow-up stages before advancing.
mechanics
Battleplan Terrain and Time Guide: Plan Routes and Pauses
Read Battleplan terrain, manage pause and fast-forward, and plan attacks around supply, readiness, night reports, and the mission deadline.
Was this helpful?
Thanks for the feedback!